Table of Contents
Welcome
 Photomator Help
New to Photomator?
Start by exploring the highlights below.
-
Get started with a photo
Browse different locations on your device or open an image from the Photos library to start editing in Photomator. For more info and step-by-step instructions, see Open or import a photo.
-

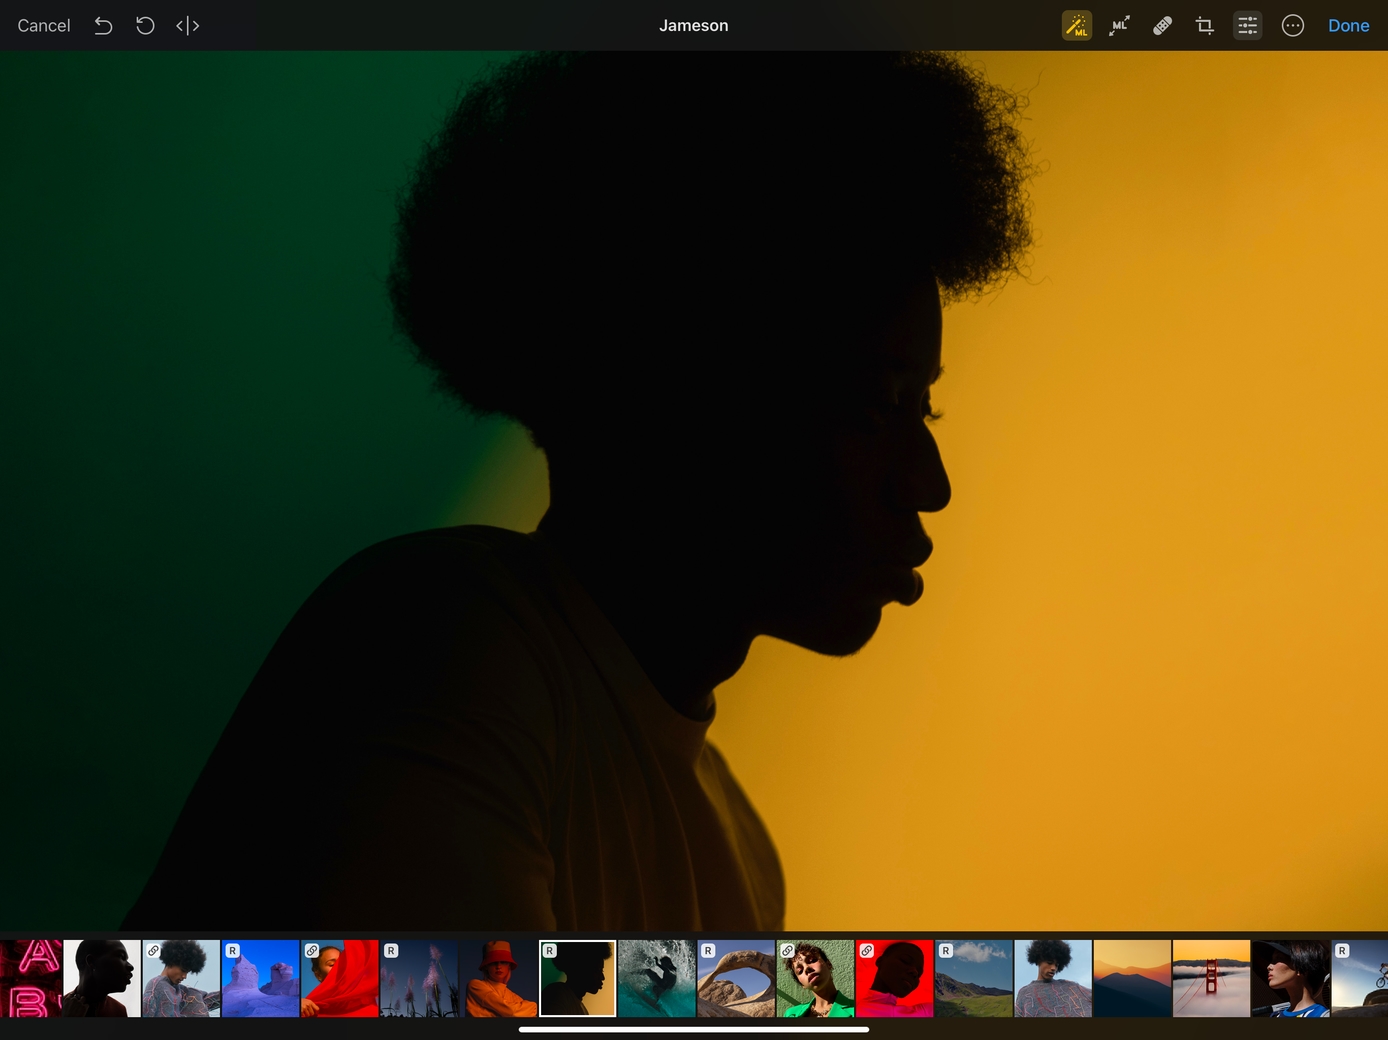
Edit photos using machine learning-powered tools
Use the machine-learning powered Enhance, Match Colors, Crop, Super Resolution, and Denoise tools to automatically improve light and color of a photo, match colors of one photo to another, get crop suggestions, reduce camera noise and compression artifacts, or increase resolution.
-
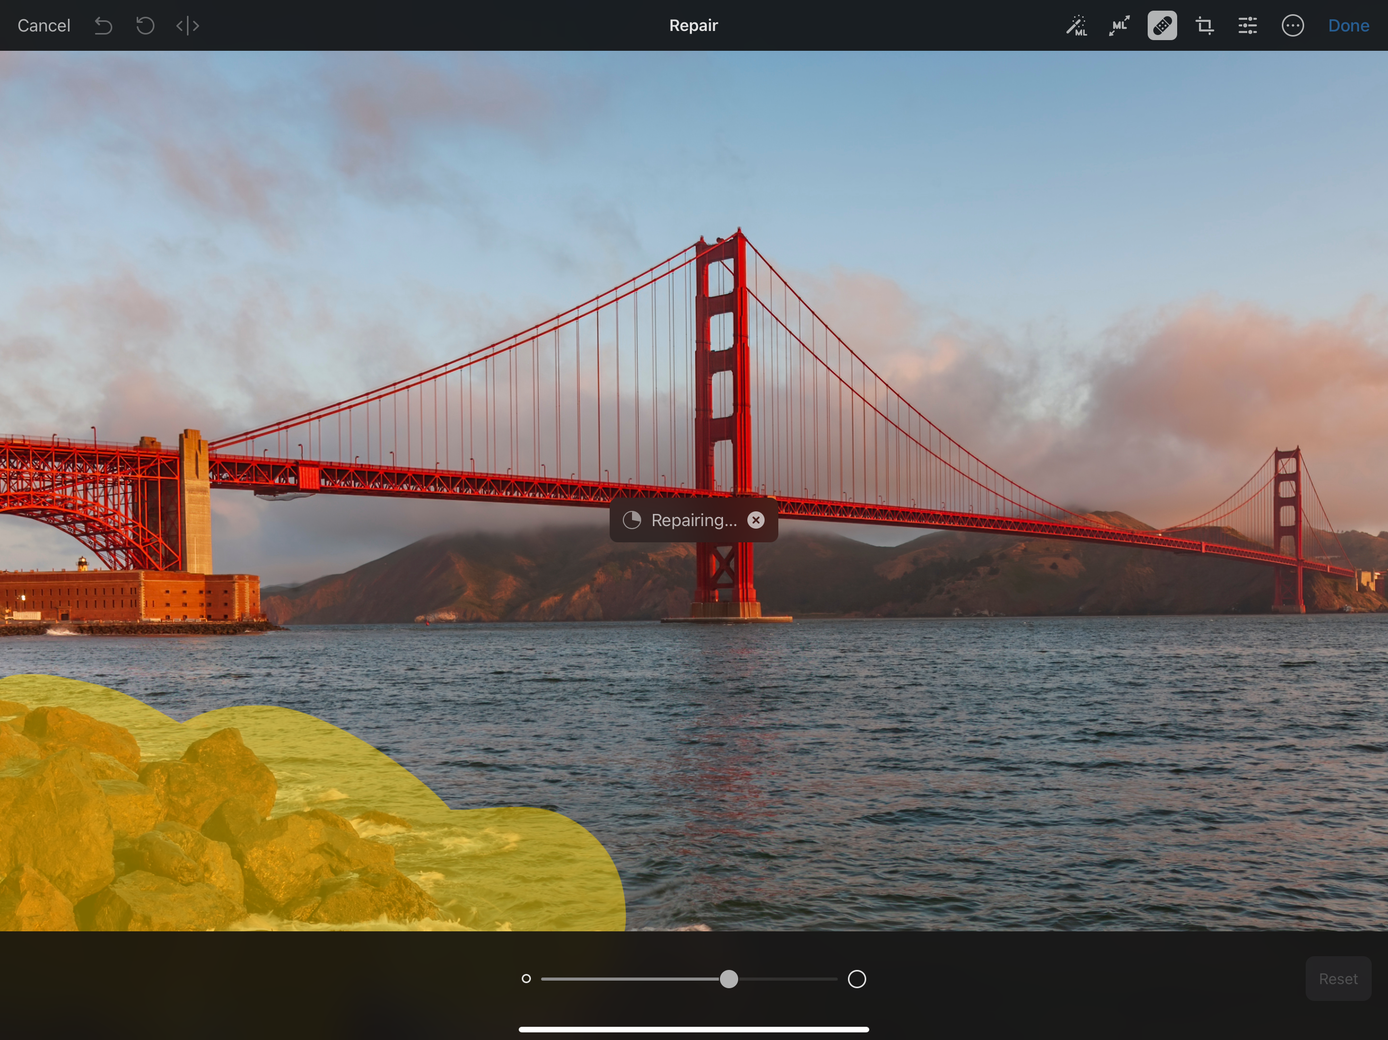
Remove unwanted objects
Retouch a photo with the Repair tool to remove specks of dust, blemishes, and even entire objects by simply swiping over the area you want to repair. For more info and step-by-step instructions, see Repair tool.
-
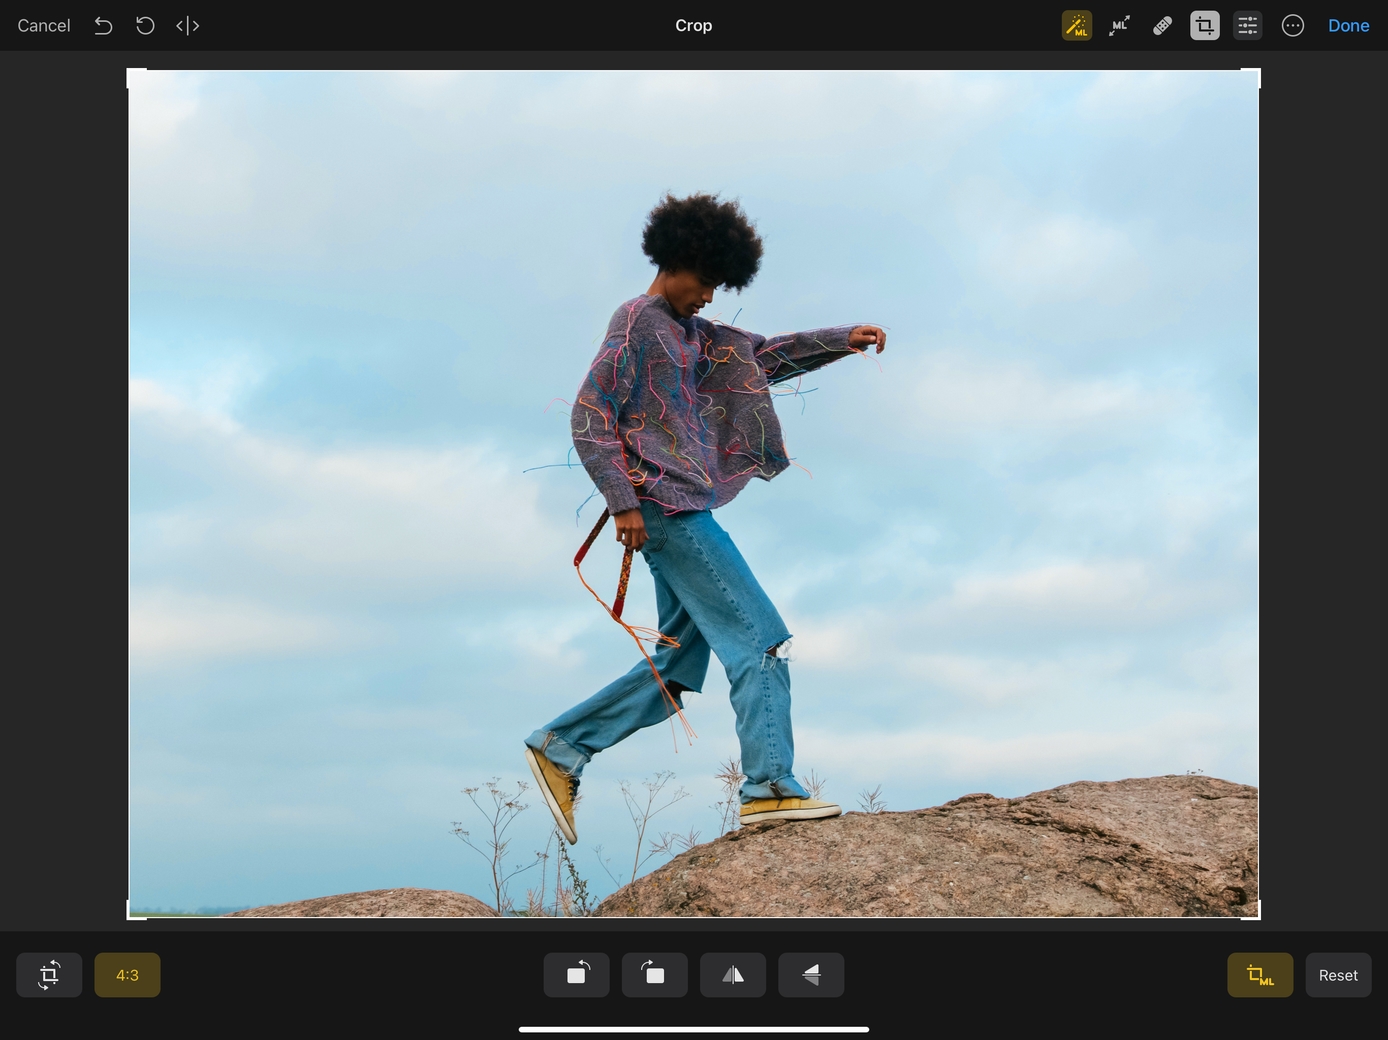
Improve composition
Use the Crop tool to improve perspective, straighten, flip, and rotate photos, trim away unecessary areas, or try out ML Crop for automated crop suggestions. For more info and step-by-step instructions, see Crop tool.
-
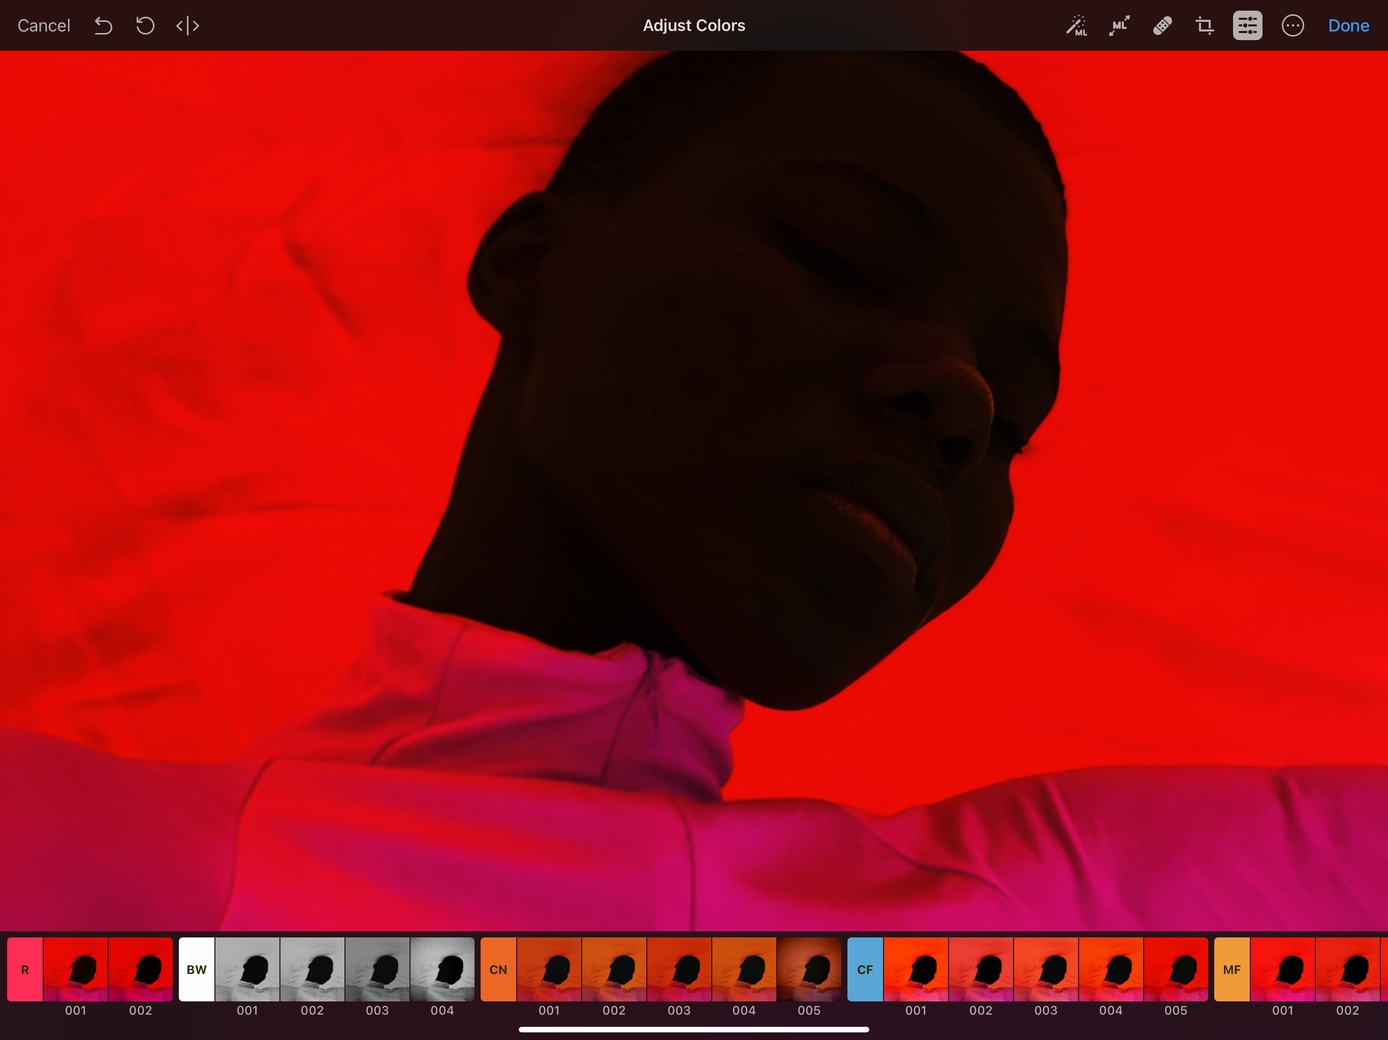
Apply a color adjustment preset
Transform the look of a photo by applying one of the many color adjustment presets designed by the Pixelmator Team. Experiment with presets inspired by cinematic colors, analog photography, or if you're feeling inspired, create a custom preset collection of our own. For more info and step-by-step instructions, see Color adjustment presets.
-

Batch edit your photos
Apply edits to multiple images at a time with the easy-to-use batch workflows. Enhance, rotate, crop, scale images, or add unique action combinations as your custom editing workflows. For more info and step-by-step instructions, see About batch editing.
-
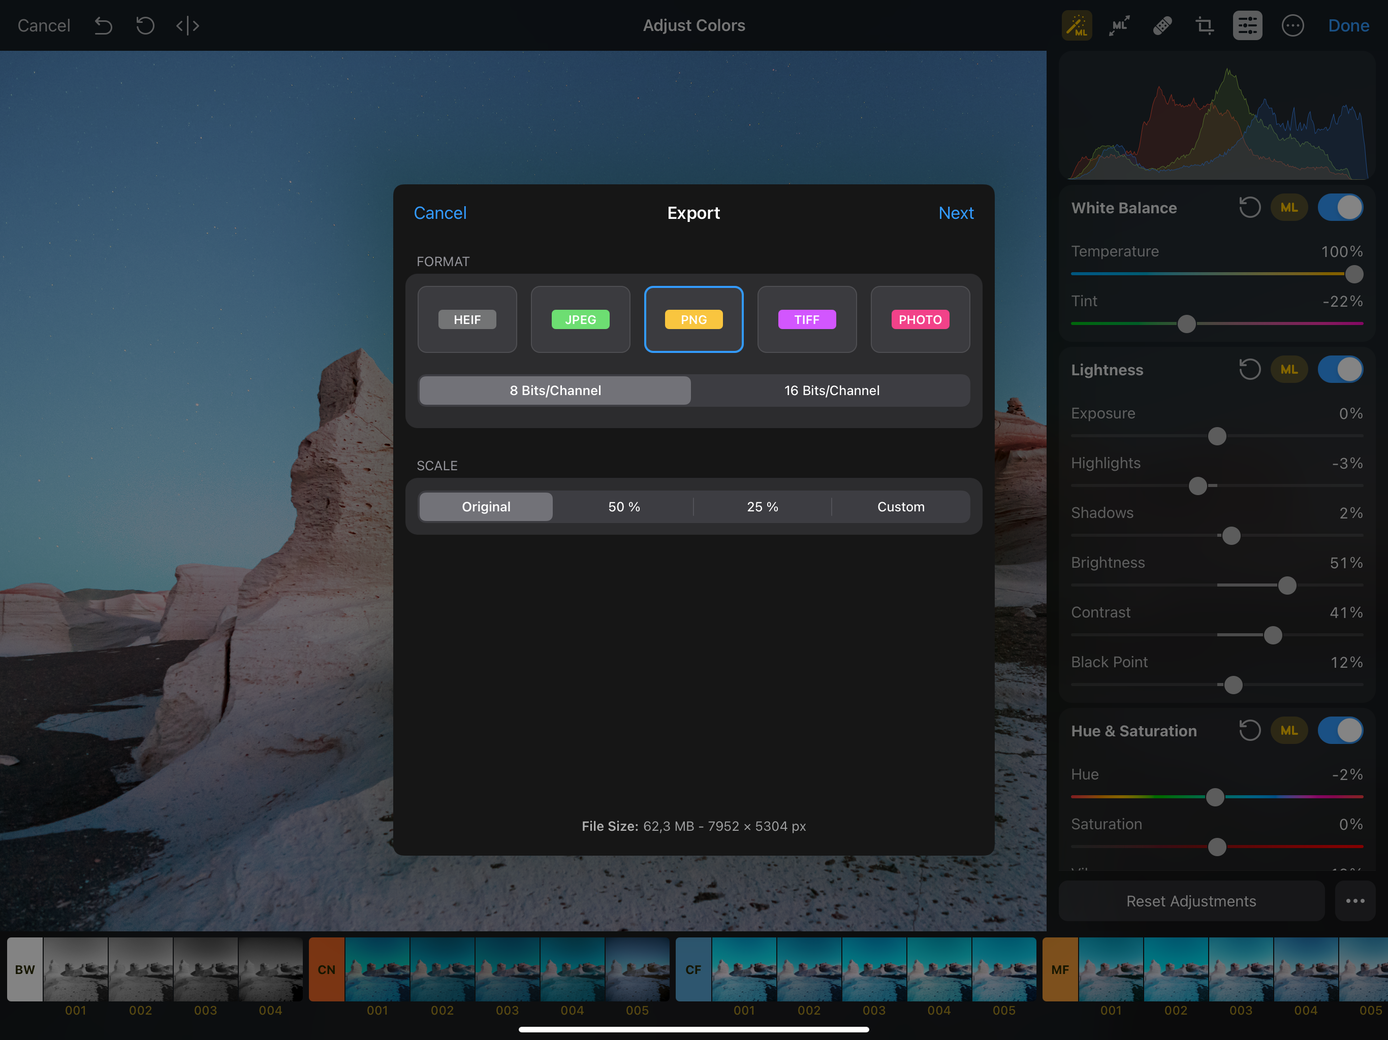
Share your photos
Save your edited photos back to the Photos library or share them with others via AirDrop, Mail, or Messages. Export photos to other file formats and share them to other apps. For more info and step-by-step instructions, see Save, share, and export.