Table of Contents
Create layers
In Pixelmator Pro, you can create different kinds of layers in a variety of ways. For example, you can create new, completely empty layers, add images or photos stored on your Mac as layers, create layers from selections, add text, shapes, adjustment layers, and more.
Below, you'll learn all the different ways you can add layers to your projects. You don't necessarily have to remember them all — just pick one that best suits your workflow.
Create a new empty layer
Do one of the following:
- Click
 .
. - Choose Insert > Empty Layer (from the Insert menu at the top of your screen).
- Press + + on your keyboard.
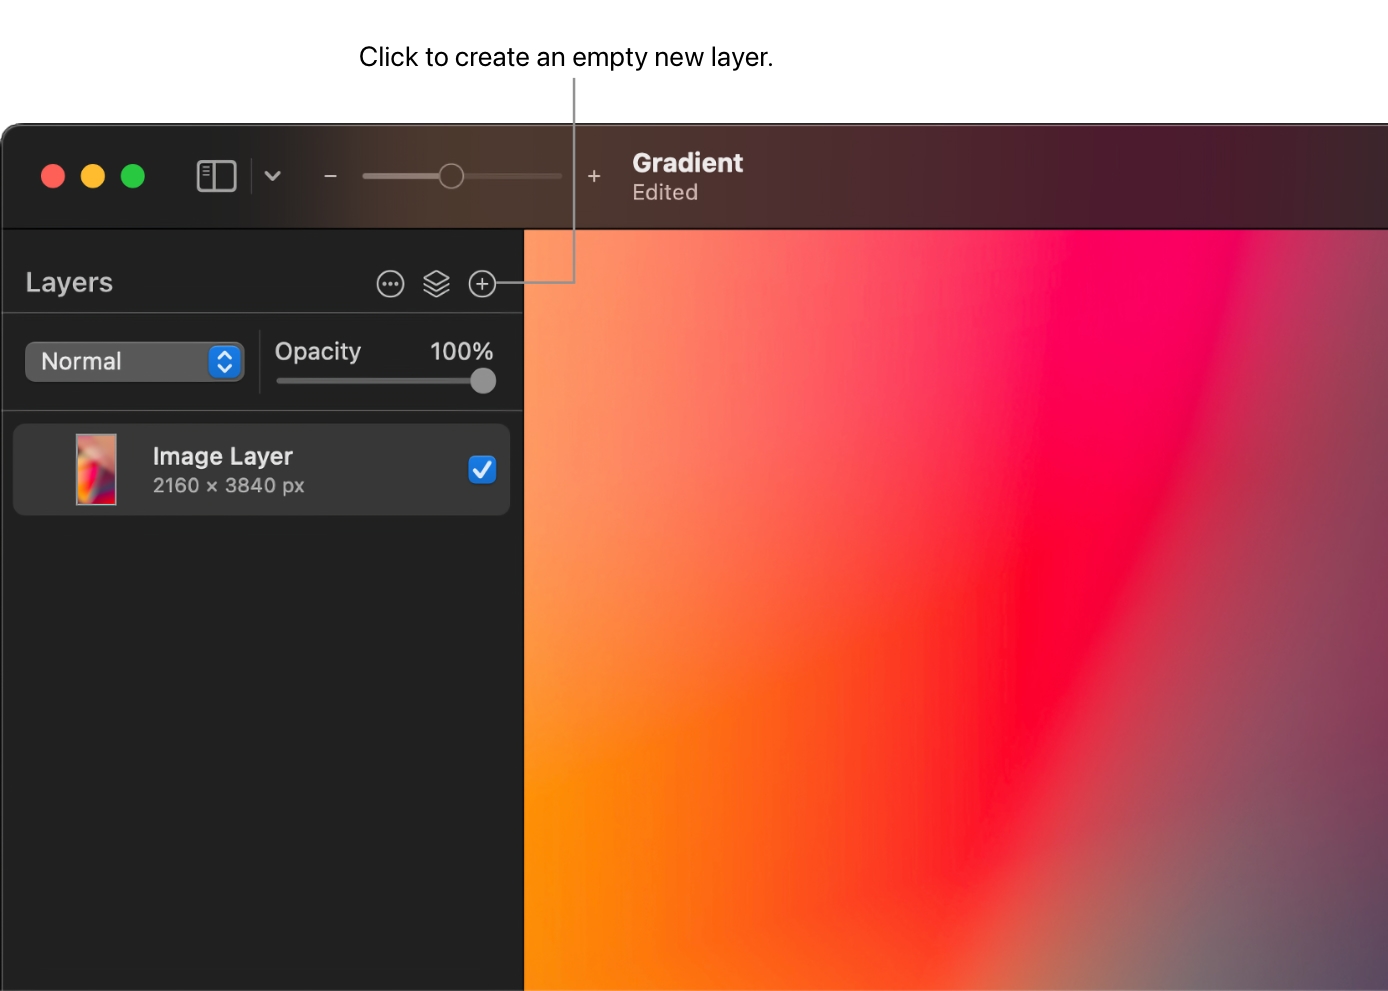
Note: New empty layers are completely transparent and have no content yet. This means they don't show up on the canvas and can only be selected from the Layers sidebar. If you don't see the Layers sidebar, choose View > Show Layers (from the View menu at the top of your screen).
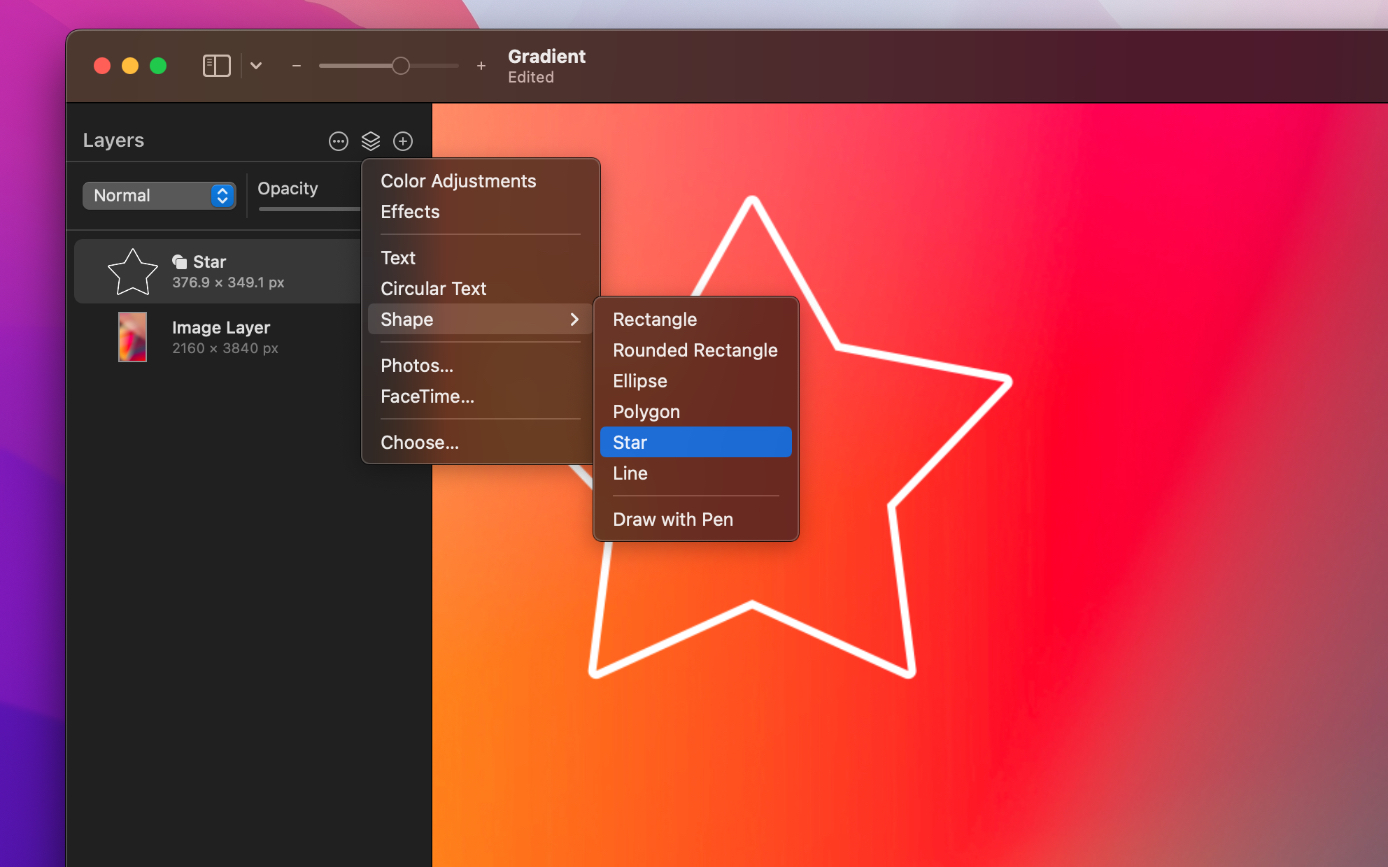
Create a new shape layer
Do one of the following:
- Click
 at the top of the
Layers sidebar, choose Shape and select one of the basic shapes or draw using the
Pen tool.
at the top of the
Layers sidebar, choose Shape and select one of the basic shapes or draw using the
Pen tool. - Choose Insert > Shape (from the Insert menu at the top of your screen) and select one of the options.
- Choose Tools > Draw (from the Tools menu at the top of your screen) and select one of the basic shapes or choose Shape to browse all available shapes.
Create a new text layer
Do one of the following:
- Click at the top of the
Layers sidebar and choose Text or Circular Text.
- Choose Insert > Text or Insert > Circular Text (from the Insert menu at the top of your screen).
- Click
 in the
Tools sidebar and click the canvas to add text.
in the
Tools sidebar and click the canvas to add text. - Press on your keyboard and click or drag on the canvas to add text.
- Press + + on your keyboard to add a regular text layer.
- Press + + + on your keyboard to add a circular text layer.

To edit and customize the text, choose Tools > Type (from the Tools menu at the top of your screen) or press the key, then click the text layer you’ve added.
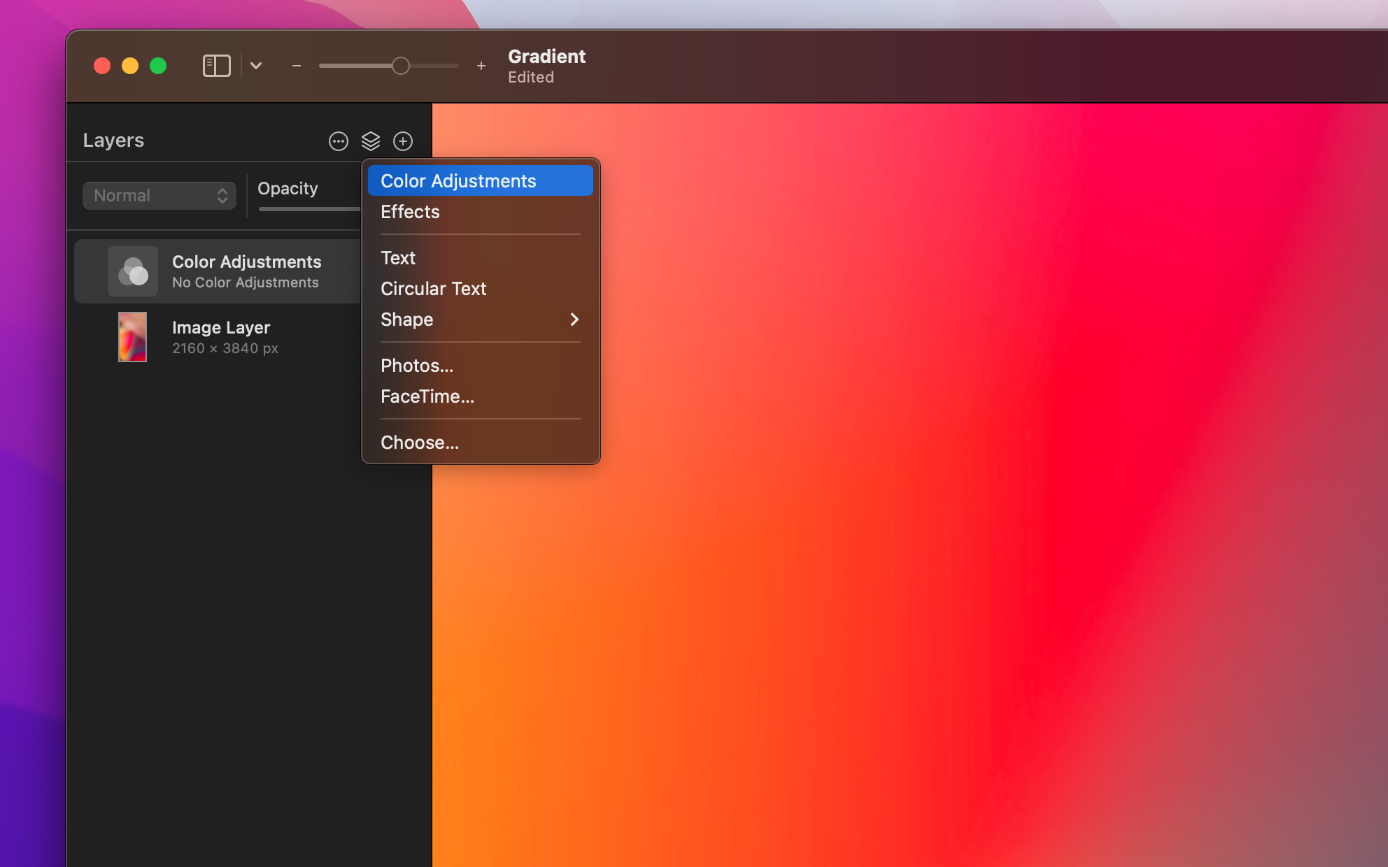
Create a new color adjustments layer
Do one of the following:
- Click at the top of the
Layers sidebar and choose Color Adjustments.
- Choose Insert > Color Adjustments (from the Insert menu at the top of your screen).
- Press + + on your keyboard.
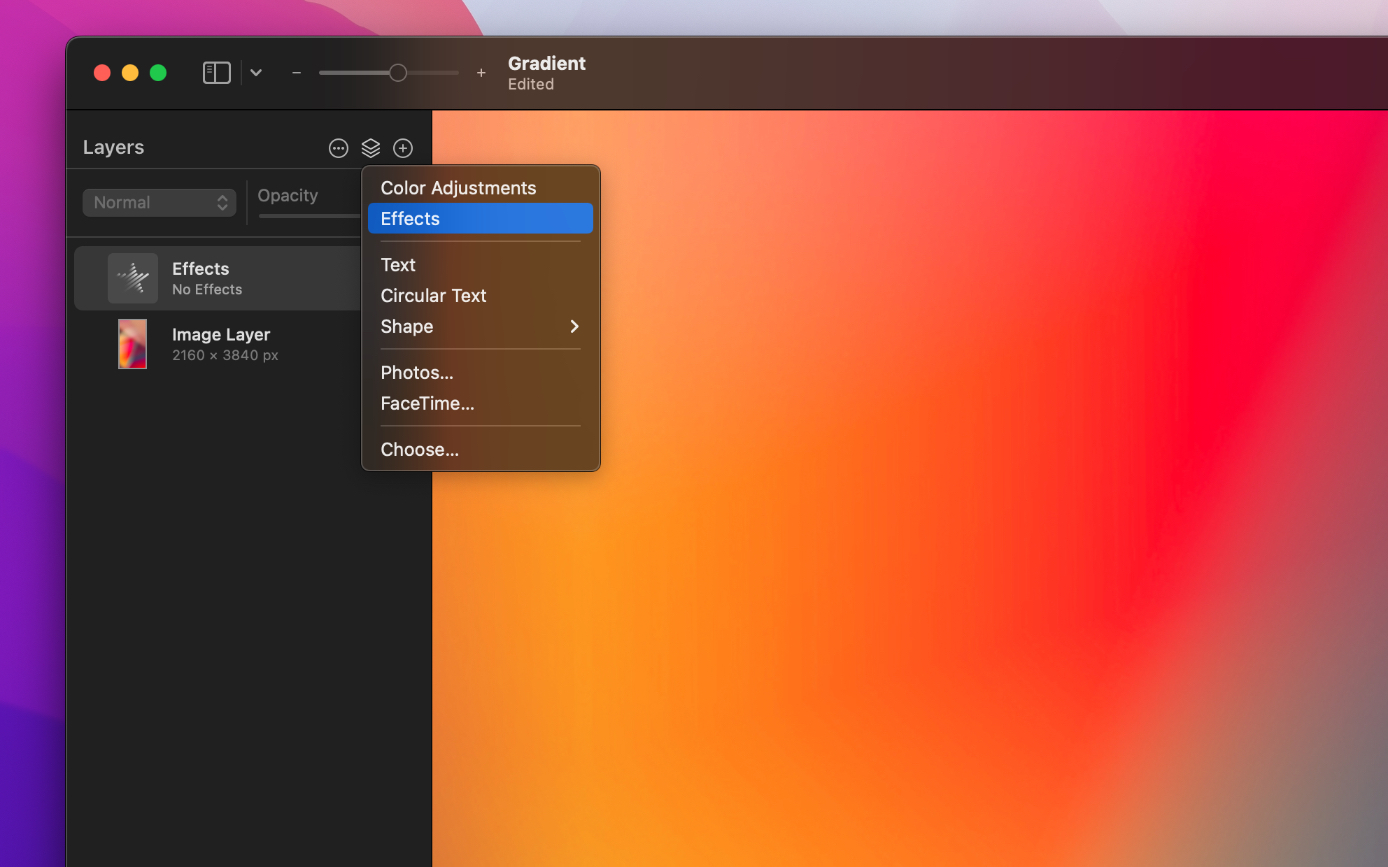
Create a new effects layer
Do one of the following:
- Click at the top of the
Layers sidebar and choose Effects.
- Choose Insert > Effects (from the Insert menu at the top of your screen).
- Press + + on your keyboard.
Create a new layer from a selection
Make a selection.
Do one of the following:
- Choose Edit > Copy, then Edit > Paste (from the Edit menu at the top of your screen).
- – click the selection and choose Copy and Paste as Layer.
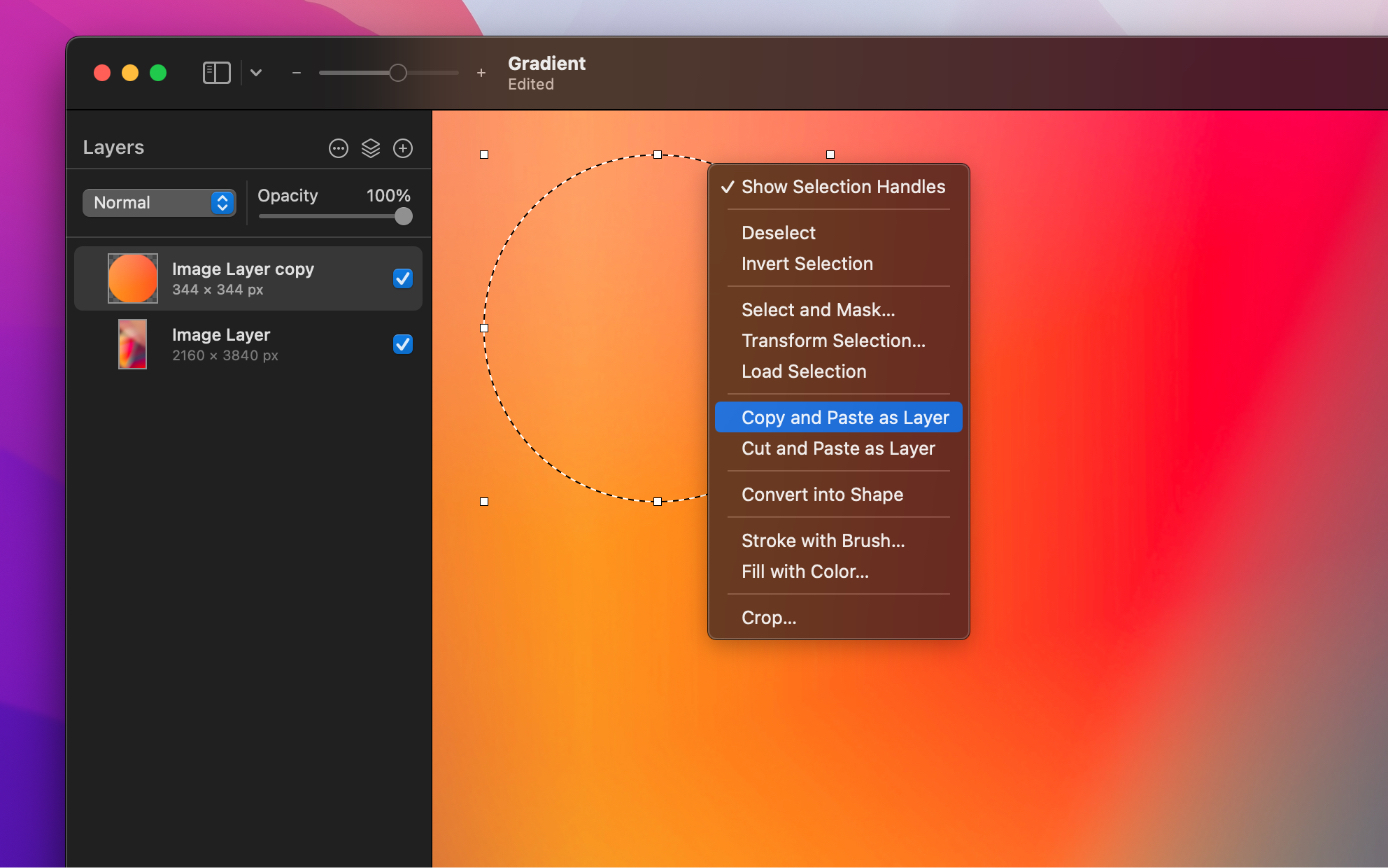
Once you copy the selection, you can deselect it by pressing + on your keyboard or continue working within the boundaries of the selection.
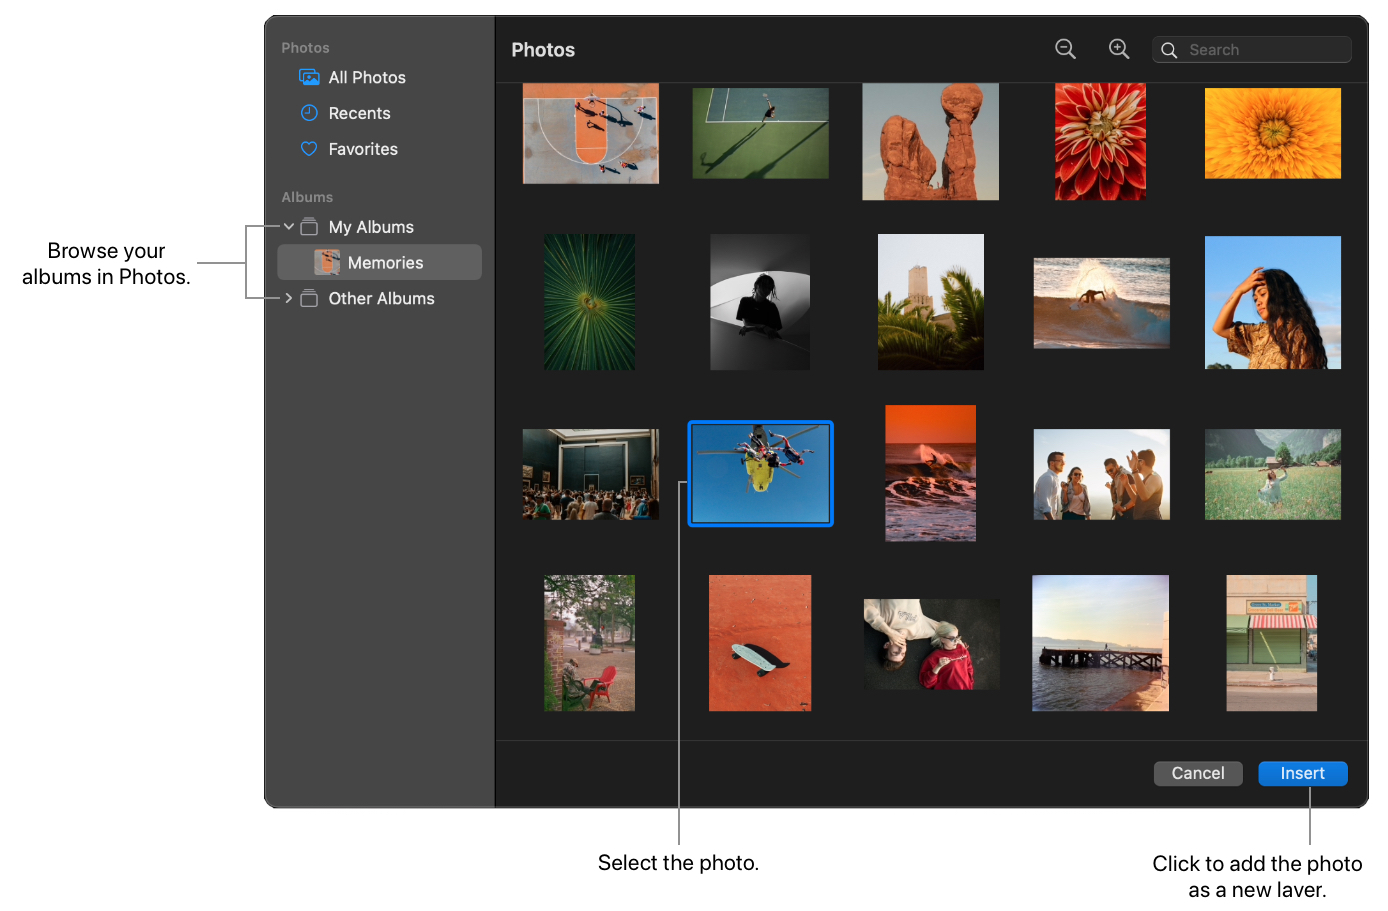
Add an image or video from Photos or Photo Booth as a layer
Do one of the following:
- Click at the top of the
Layers sidebar and choose Photos.
- Choose Insert > Photos (from the Insert menu at the top of your screen).
- Press + + on your keyboard.
- Click
Navigate to the image or video in your Photos or Photo Booth library and choose Insert.
Tip: If a photo you add happens to be larger than the canvas, some of its content may be hidden beyond the edges of the canvas. Zoom out of the image until you see the layer handles, then resize it to fit the canvas. If you don't mind changing the canvas size, you can also choose Image > Reveal Canvas (from the Image menu at the top of your screen) to show the entire image.
Add an image or video saved on your Mac as a layer
Do one of the following:
- Click at the top of the
Layers sidebar and click Choose.
- Choose Insert > Choose (from the Insert menu at the top of your screen).
- Press + + on your keyboard.
- Click
Navigate to the image or video on your Mac and choose Insert.
You can import videos, images, multilayered PXD, PXM, PSD documents, and SVGs.
Capture an image with the FaceTime camera to add as a layer
Do one of the following:
- Click at the top of the
Layers sidebar and choose FaceTime.
- Choose Insert > FaceTime (from the Insert menu at the top of your screen).
- Click
Strike a pose, click the camera button, then click OK.
Capture an image with iPhone or iPad camera to add as a layer
The Continuity Camera lets you insert the photos you capture on your iPhone or iPad directly to Pixelmator Pro.
To insert a photo:
Choose Insert > Import from iPhone or iPad (from the Insert menu at the top of your screen), and click Take Photo.
Use your device's camera to take a photo and tap Use Photo. To retake a photo, tap Retake.
Note: If the Take Photo option is grayed out, make sure you’re signed in to your iPhone, iPad, and Mac with the same Apple ID. Also, check if both your devices have Bluetooth and network connections turned on.


