Table of Contents
Color adjustment presets
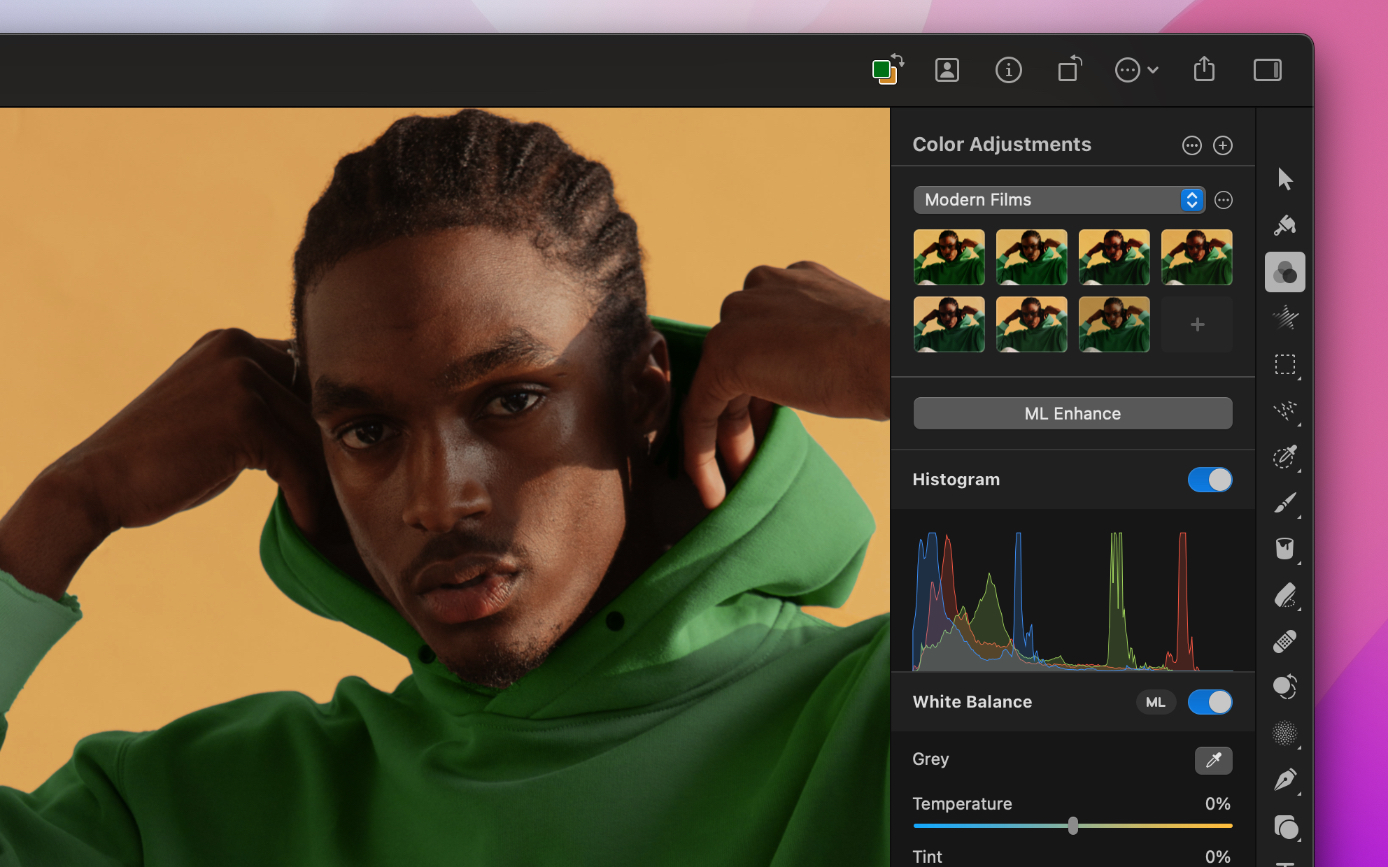
Pixelmator Pro includes pre-made combinations of color adjustments called presets. These presets let you quickly give an image a certain look. In addition, you can add your own presets to save, reuse, and share the adjustment combinations you create.
Apply a color adjustment preset
- Do one of the following:
- In the Tools sidebar, click
 .
. - Choose Tools > Color Adjustments (from the Tools menu at the top of your screen).
- Press the key on your keyboard.
- In the Tools sidebar, click
- In the Layers sidebar, click to select the layer you’d like to edit.
- Choose a color adjustment preset from the list of presets at the top of the Tool Options pane, or click the Collection pop-up menu to browse other preset collections.
You can also fine-tune the adjustments applied to your image in the Tool Options pane.
Save a combination of color adjustments as a preset
- Do one of the following:
- In the Tools sidebar, click
.
- Choose Tools > Color Adjustments (from the Tools menu at the top of your screen).
- Press the key on your keyboard.
- In the Tools sidebar, click
- Apply any number of adjustments to an image.
- Do one of the following:
- Click
 in any color adjustments collection to save the preset to that collection.
 - Click
 next to the Collection pop-up menu and choose Add Preset.
- Click
Share a color adjustment preset
- Do one of the following:
- In the Tools sidebar, click
.
- Choose Tools > Color Adjustments (from the Tools menu at the top of your screen).
- Press the key on your keyboard.
- In the Tools sidebar, click
- Drag any of the presets out of Pixelmator Pro and onto the desktop or into a Finder window.
- Share the .adjustments file with someone else via email or any other way you like.
Note: If you own Pixelmator Photo for iPad, you can import the color adjustments presets you create in Pixelmator Pro to Pixelmator Photo. You can share the preset via AirDrop or open it from iCloud Drive.
Share a collection of color adjustment presets
- Do one of the following:
- In the Tools sidebar, click
.
- Choose Tools > Color Adjustments (from the Tools menu at the top of your screen).
- Press the key on your keyboard.
- In the Tools sidebar, click
- In the Collection pop-up menu, open the color adjustments collection you'd like to export.
- Click next to the Collection pop-up menu and choose Export.
- Share the .adjustments file with someone else via email or any other way you like.
Share your entire color adjustments library
- Do one of the following:
- In the Tools sidebar, click
.
- Choose Tools > Color Adjustments (from the Tools menu at the top of your screen).
- Press the key on your keyboard.
- In the Tools sidebar, click
- Click next to the Collection pop-up menu.
- Press and hold the key, and choose Export All.
- Share the .adjustments file with someone else via email or any other way you like.
Redefine a color adjustment preset
If you’d like to overwrite or update an existing preset with new settings, you can redefine it.
- Do one of the following:
- In the Tools sidebar, click
.
- Choose Tools > Color Adjustments (from the Tools menu at the top of your screen).
- Press the key on your keyboard.
- In the Tools sidebar, click
- Apply and customize any number of color adjustments to a layer.
- In the list of presets, – click a preset and choose Rename "Preset".
Delete a color adjustment preset
Do one of the following:
- In the Tools sidebar, click
.
- Choose Tools > Color Adjustments (from the Tools menu at the top of your screen).
- Press the key on your keyboard.
- In the Tools sidebar, click
In the list of presets, – click a preset and choose Remove "Preset".
Rename a color adjustment preset
Do one of the following:
- In the Tools sidebar, click
.
- Choose Tools > Color Adjustments (from the Tools menu at the top of your screen).
- Press the key on your keyboard.
- In the Tools sidebar, click
In the list of presets, – click a preset and choose Rename "Preset".
Rename a color adjustment presets collection
Do one of the following:
- In the Tools sidebar, click
.
- Choose Tools > Color Adjustments (from the Tools menu at the top of your screen).
- Press the key on your keyboard.
- In the Tools sidebar, click
In the Collection pop-up, select the collection you want to rename.
- Click next to the Collection pop-up menu and choose New Collection.
- Enter a new name and click Rename.
Reset all color adjustment presets to default
Resetting all the color adjustment presets to default removes any custom presets and returns all the default presets that come with Pixelmator Pro.
- Do one of the following:
- In the Tools sidebar, click
.
- Choose Tools > Color Adjustments (from the Tools menu at the top of your screen).
- Press the key on your keyboard.
- In the Tools sidebar, click
- Click next to the Collection pop-up menu, press and hold the key and choose Reset All.
Delete a color adjustment presets collection
Do one of the following:
- In the Tools sidebar, click
.
- Choose Tools > Color Adjustments (from the Tools menu at the top of your screen).
- Press the key on your keyboard.
- In the Tools sidebar, click
In the Collection pop-up, select the collection you want to remove.
- Click next to the Collection pop-up menu and choose Remove.
Create a new color adjustment presets collection
- Do one of the following:
- In the Tools sidebar, click
.
- Choose Tools > Color Adjustments (from the Tools menu at the top of your screen).
- Press the key on your keyboard.
- In the Tools sidebar, click
- Click next to the Collection pop-up menu and choose New Collection.
Show or hide presets
- Do one of the following:
- In the Tools sidebar, click
.
- Choose Tools > Color Adjustments (from the Tools menu at the top of your screen).
- Press the key on your keyboard.
- In the Tools sidebar, click
- Drag the line that separates presets from the ML Enhance button up to hide the presets, or drag it down to reveal or expand the presets section.


